


Want to capture your screen on a Mac? Whether it’s for work, tutorials, or saving memories, here’s everything you need to know—quick, clear, and easy.
How to Screenshot on Mac?
Taking a screenshot on a Mac is quick and built right into macOS. Use Shift + Command + 3 to capture the entire screen or Shift + Command + 4 to select a portion. Screenshots save as PNG files to your desktop by default.
For more options, use Shift + Command + 5 to open the screenshot toolbar to open, where you can record, capture windows, or change the save location.
Touch Bar users can press Shift + Command + 6 to capture it. After any screenshot, a thumbnail preview appears—click it to crop or edit instantly.
Mac Screenshot Keyboard Shortcuts
- Full screen: Shift + Command + 3
- Selected area: Shift + Command + 4
- Window capture: Shift + Command + 4, then press Spacebar
- Screenshot toolbar: Shift + Command + 5
- Touch Bar (MacBook Pro): Shift + Command + 6
- Copy to clipboard: Hold Control with any shortcut above
How Do You Crop a Screenshot on a Mac?
To crop a screenshot on a Mac, open it in Preview, click the markup tool, drag to select the area, then go to Tools > Crop or press Command + K to trim.
Use the Preview App for Quick Editing
The Preview app on macOS isn’t just for viewing images — it’s a powerful tool for basic edits. You can crop, resize, rotate, or even annotate screenshots directly within Preview, without needing extra software.

How to Open a Screenshot in Preview?
After taking a screenshot (Shift + Command + 4), double-click the image to open it in Preview. If it opens in another app, right-click the file, choose Open With, and select Preview.
Editing Other Than Just Cropping
Aside from cropping, Preview lets you add text, highlight areas, sign documents, and adjust image size. It’s ideal for quick tweaks before sharing or saving your screenshot.
Why Cropping Matters?
Cropping removes unwanted parts of your screenshot, making it cleaner and more focused. Whether you’re sending instructions, sharing a snippet, or saving space, cropping keeps things neat and relevant.
Can You Edit a Screenshot on a Mac?
Yes, you can easily edit a screenshot on a Mac using built-in tools like Preview or Markup to crop, resize, annotate, highlight, draw, or add text.
How to Use Preview to Edit Screenshots on Mac
Once you’ve taken a screenshot, just double-click the image to open it in Preview. From there, you can use the editing toolbar to crop, rotate, or adjust colours. You can also insert shapes, text, or even sign documents directly on the screenshot.
Use Markup for Quick Screenshot Edits
When you take a screenshot, a thumbnail appears in the corner—click it to open Markup. This lets you quickly add annotations, arrows, highlights, or text without opening another app. It’s perfect for fast edits or sharing visuals with context.
Why Screenshot Editing on Mac Is Useful?
Being able to edit screenshots directly helps save time, especially for work, tutorials, or support issues. You don’t need extra software—Mac’s built-in tools are powerful and easy to use.
Tips for Editing Screenshots on Mac
- Use Command + Shift + 5 to access screenshot options
- Always save edited screenshots in organised folders
- Use the Magnifier tool in Markup for zoomed-in highlights
- Try combining Preview with other macOS features for advanced edits
How to Paste a Screenshot on Mac?
The easiest way to paste a screenshot on Mac is to press Command + Control + Shift + 4, take the shot, then paste it using Command + V in any app.
Start with the shortcut
Press Command + Control + Shift + 4. This copies the selected part of your screen directly to your clipboard, not as a file.
Select the area to capture
Click and drag to highlight the part of the screen you want. Once you let go, the screenshot is instantly copied.
Open an app that accepts pasted images
Use apps like Notes, Mail, Pages, Word, or even Messages—anywhere you can paste visuals.
Paste the screenshot
Click where you want the image, then press Command + V. Your screenshot appears immediately.
Where Do Screenshots Get Saved on a Mac?
Screenshots on a Mac are saved to the Desktop by default. You can change the location in the Screenshot app or use Terminal commands if needed.
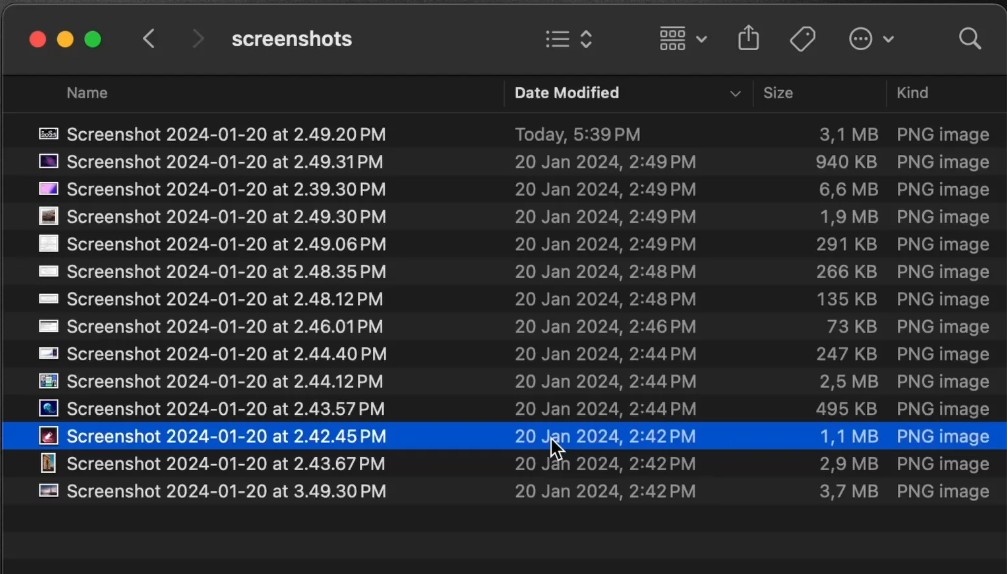
How to Find Your Mac Screenshots?
By default, screenshots are named “Screen Shot [date] at [time].png” and appear right on your Desktop. If you don’t see them there, check your Downloads or recent folders in Finder. You can also use Spotlight Search and type “Screen Shot” to locate them quickly.
How to Change Screenshot Save Location?
To change the screenshot save location:
- Press Command + Shift + 5 to open the Screenshot toolbar.
- Click Options.
- Choose a new location like Documents, Downloads, or select “Other Location” to pick a folder.
This is helpful if you want to keep your Desktop clean or organise screenshots by project.
Why You Might Not See Your Screenshots?
If your screenshots aren’t showing up:
- Check if you’re in full-screen mode (they may still be captured but hidden).
- Make sure your Mac’s storage isn’t full.
- You might have changed the default save location without realising it.
How Do You Screenshot Just One Window on Mac?
Press Command (⌘) + Shift + 4, then tap the Spacebar. Click the window you want to capture. The screenshot is saved to your desktop automatically.
Once saved, the file appears as a PNG image, usually named something like “Screen Shot [date] at [time]”. You’ll find it right on your desktop, ready to use or share.
This method is perfect when you only want to capture one specific app window—like Chrome, Finder, or Zoom—without grabbing the entire screen or having to crop manually.
Best Screenshot Apps for Mac
The best screenshot apps for Mac include CleanShot X, Snagit, Lightshot, Skitch, and Shottr—each offers powerful screen capture and editing tools.
- CleanShot X – A premium Mac screen capture tool with scrolling screenshots, screen recording, and cloud sharing built in.
- Snagit – Ideal for professionals needing advanced annotation, templates, and video capture with audio for tutorials or presentations.
- Lightshot – A simple, lightweight screenshot app for Mac that lets you quickly grab and edit images with easy sharing options.
- Skitch – Created by Evernote, great for quick markup, arrows, and notes—perfect for visual communication and productivity.
- Shottr – A fast, tiny Mac utility for pixel-perfect screenshots, text recognition (OCR), and UI feedback.
These tools boost productivity and offer better control than macOS’s built-in screenshot function, especially for detailed work or sharing visuals.
How to Troubleshoot Screenshot on Mac?
Is the Screenshot not working on Mac? It could be disabled in settings, a wrong shortcut used, an outdated macOS, or a conflict with background apps or permissions.
To fix screenshot issues on Mac, check shortcut keys, ensure the desktop isn’t full, restart the Mac, or use Grab or Preview if shortcuts aren’t working.
Also, verify if Screen Recording permissions are enabled in System Preferences under Security & Privacy. Clearing temporary files or updating macOS often helps, too.
If problems persist, try resetting the NVRAM or booting in Safe Mode to isolate software conflicts that might block screenshots.
What Are the Screenshot Shortcuts for Mac?
Taking screenshots on a Mac is quick. Shift + Command + 3 is for full screen, Shift + Command + 4 is for part, and Shift + Command + 5 was added later.
Each shortcut gives you flexibility depending on what you need to capture—whether it’s a full screen, a window, or a custom area.
| Shortcut | Function |
|---|---|
| Shift + Command + 3 | Captures the entire screen |
| Shift + Command + 4 | Let you select a specific part to grab |
| Shift + Command + 4 + Space | Captures a specific window |
| Shift + Command + 5 | Opens screenshot toolbar with options |
| Shift + Command + 6 | Captures Touch Bar (if available) |
Knowing these Mac screenshot shortcuts is useful for sharing, saving information, or creating tutorials quickly.
Taking screenshots on a Mac is simple with the right shortcuts and built-in tools. Whether you need to crop, edit, paste, or save, macOS has you covered. For added features, screenshot apps for Mac can take your workflow to the next level.
Want to Screenshot on Windows Instead?
If you’re also using a Windows device, check out our detailed guide on how to screenshot on Windows for all the keyboard shortcuts and tools available on Microsoft platforms.
FAQs About Screenshots on Mac
Can I change where screenshots are saved on a Mac?
Yes, this can be done through the Screenshot toolbar (Shift + Command + 5) by selecting Options and choosing a new save location.
Do screenshots on Mac have a file format?
Yes, Mac screenshots are saved in PNG format by default, but this can be changed via Terminal if needed.
Can I record the screen with Mac’s screenshot tool?
Yes, the built-in Screenshot tool (Shift + Command + 5) allows screen recording of full or selected Mac display areas.
Are third-party apps better than Mac’s built-in screenshot tools?
This depends on your needs—Mac’s tools are great, but apps like Snagit or CleanShot offer advanced capture and annotation options.